Contents
Running a WordPress site comes with multiple security risks you need to manage somehow. One of the biggest threats comes from untested themes and plugins created by third-party authors. To make sure you don’t install a plugin or theme that breaks your WordPress site, the best thing you can do is to test it in a local environment before activating it on your production site.
There are a couple of software you can use to create a local WordPress install—XAMPP is one of the best options. It consists of:
- X: refers to XAMPP’s cross-platform nature; it runs on all major operating systems: Windows, Linux, and Mac OS.
- A: Apache web server.
- M: MariaDB relational database management system, an improved version of MySQL, supported by WordPress;
- P: PHP programming language;
- P: Perl programming language.
XAMPP is not only good for WordPress development but any kind of web development that requires a PHP and/or Perl-enabled web server.
In this guide, we will look into how to use XAMPP to set up a local WordPress environment on Windows.
1. DOWNLOAD AND INSTALL XAMPP
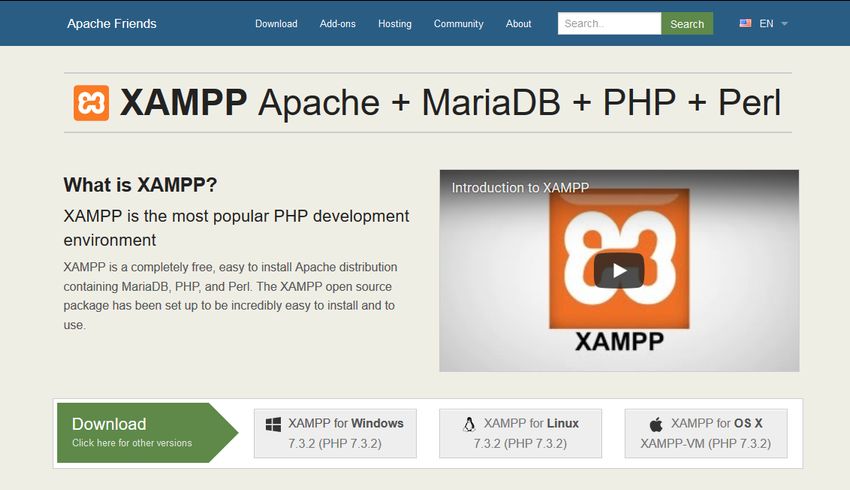
You can download XAMPP right from Apache Friends’ homepage. Click the XAMPP for Windows option and save the installer to your computer.
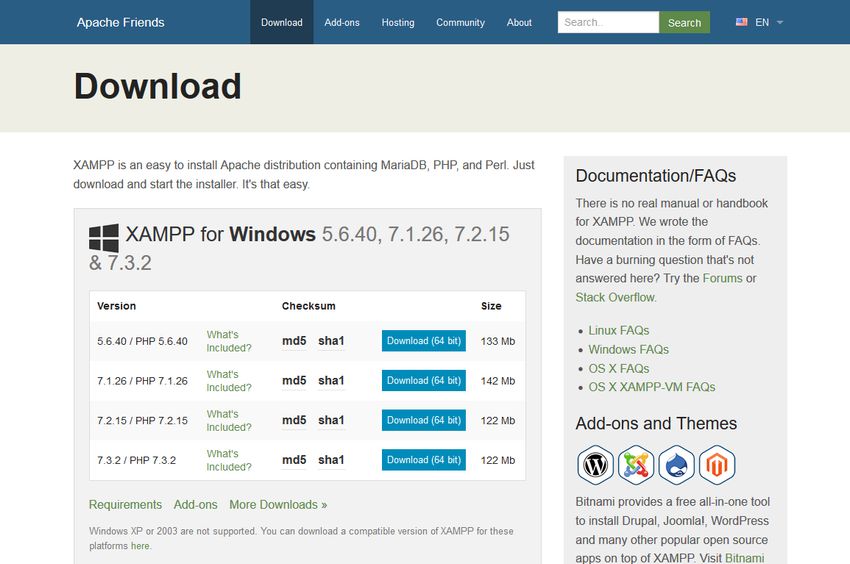
On the homepage, the default Windows installer is based on the latest PHP version (currently, PHP 7.3). However, if your production WordPress site runs on an older version of PHP (i.e. PHP 5.x), go to the Download page and download the XAMPP version bundled with PHP 5.x. This way your local and production environments will be more or less in sync.
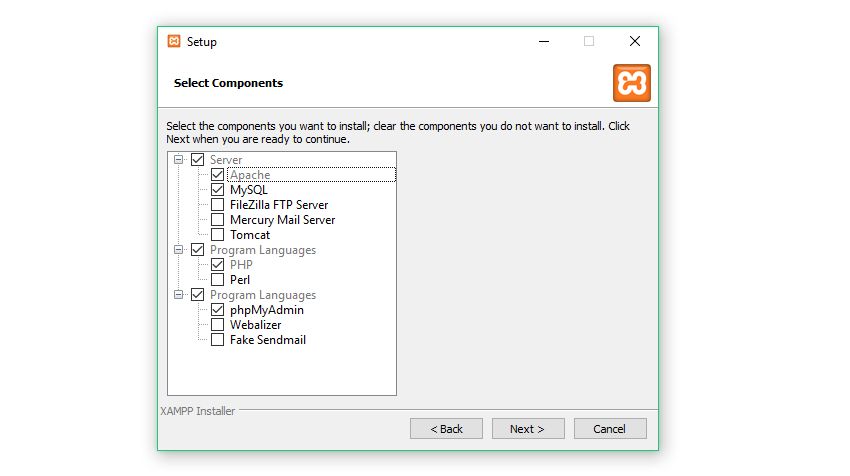
Start the installer by clicking the .exe file. It will ask you to select the components you need. Besides the compulsory components you can’t opt out from (Apache and PHP), you need to select MySQL and phpMyAdmin to create a local WordPress install. Opt out from the rest.
Go through the installation process and when it’s done, start your XAMPP web server. You will find a little orange XAMPP icon in the taskbar, next to the date/time and language settings. Right-click the icon and click the Show / Hide option that will make your XAMPP Control Panel appear on the screen.
![]()
2. START THE MODULES
In your XAMPP Control Panel, you need to start two modules: Apache and MySQL. Click the Start buttons next to the modules’ names and wait until XAMPP notifies you that they are properly running.
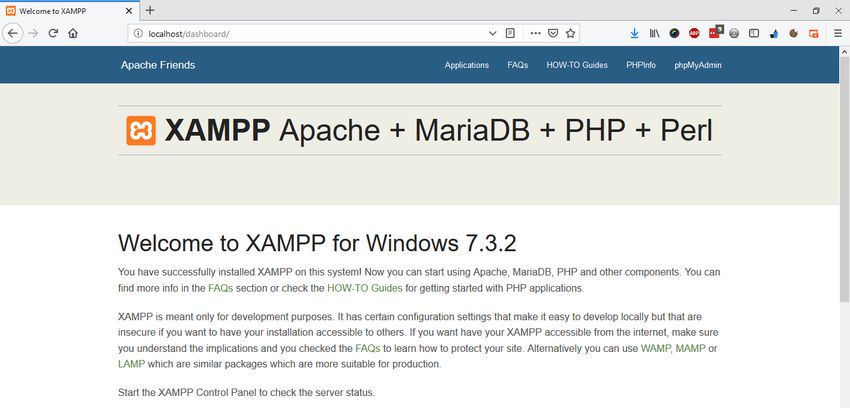
3. TEST YOUR WEB SERVER
Now, your local web server is up and running. To test it, type localhost into the URL bar of your browser and check out if you can see the “Welcome to XAMPP” screen. If yes, XAMPP runs properly on your machine and you can start creating your local WordPress environment.
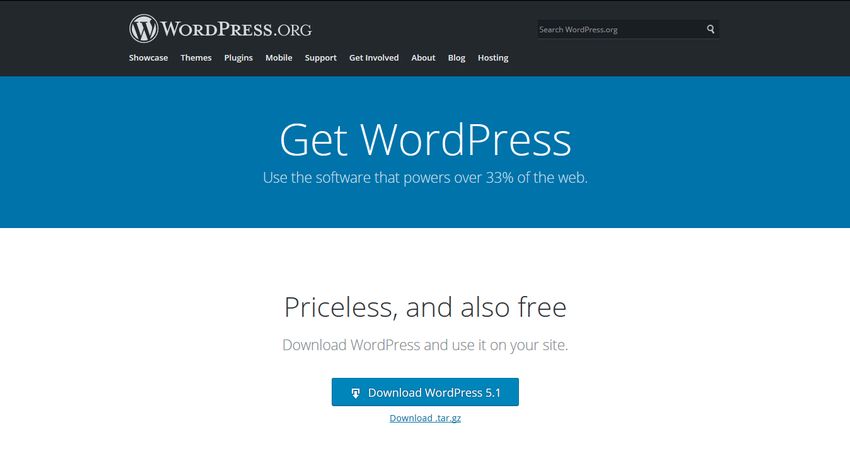
4. DOWNLOAD WORDPRESS
Go to the Download page at WordPress.org and download WordPress. Ideally, you should download the freshest WordPress release. However, if your production site uses an older WordPress version, you can also download the same release you use online.
Many plugins and themes behave differently on different WordPress versions, so you should aim to make your local environment as similar to your production environment as possible. You can find older WordPress versions on the Releases page.
Save your local WordPress install to the /xampp/htdocs folder on your computer. If you have installed XAMPP without modifying the settings you can find the /xampp folder on your main hard drive (usually C:/xampp).
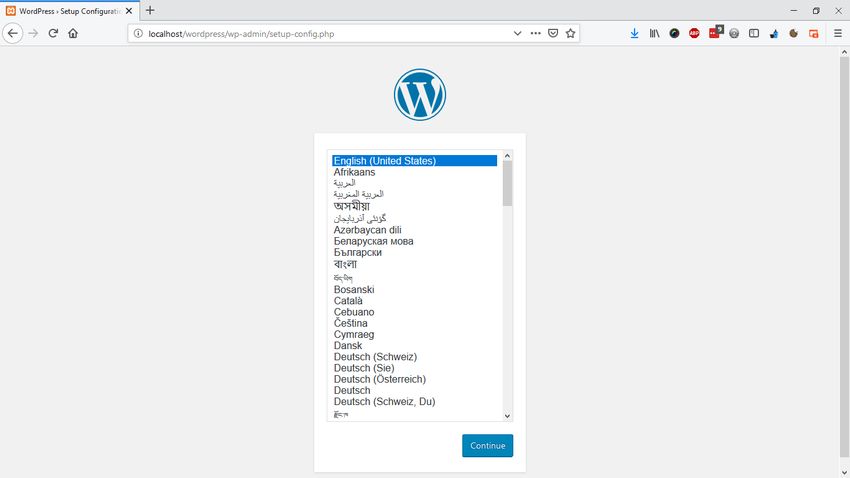
Extract the ZIP file and move the inner wordpress folder one level up. The default path of your local WordPress install should be /xampp/wordpress. You can also rename your WordPress folder if you want, for instance you can use the /xampp/test-site name.
Now, when you navigate to the localhost/wordpress page in your browser, you should see the following WordPress installation screen:
5. CREATE A DATABASE IN PHPMYADMIN
Before you run the WordPress installer, you need to create a database for your WordPress site using the phpMyAdmin database management software. As you have installed it together with XAMPP, you can find it by typing localhost/phpMyAdmin into the address bar of your browser.
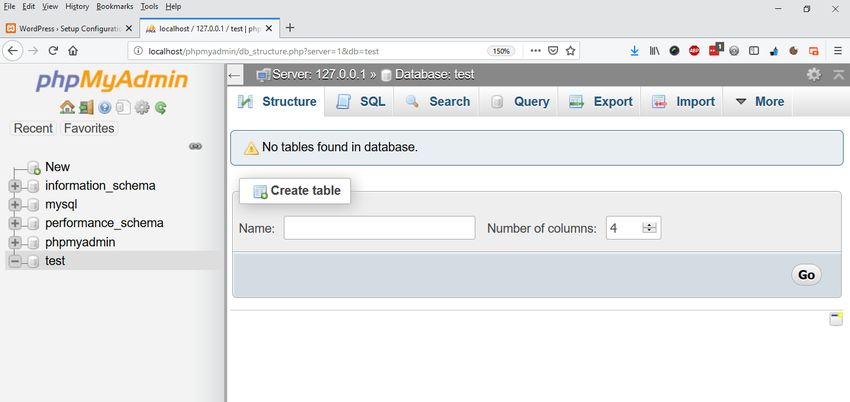
Inside phpMyAdmin, click the Databases menu in the top menu bar and create a new database. I’ll use the “test” database name in the example, however, you can use any other name. You also need to choose the character encoding from a dropdown list. Here, choose utf8_general_ci.
When your new database is done, it will appear in the left sidebar of phpMyAdmin. Your database will be empty at the moment. It will be populated with data by the WordPress installer in the next step.
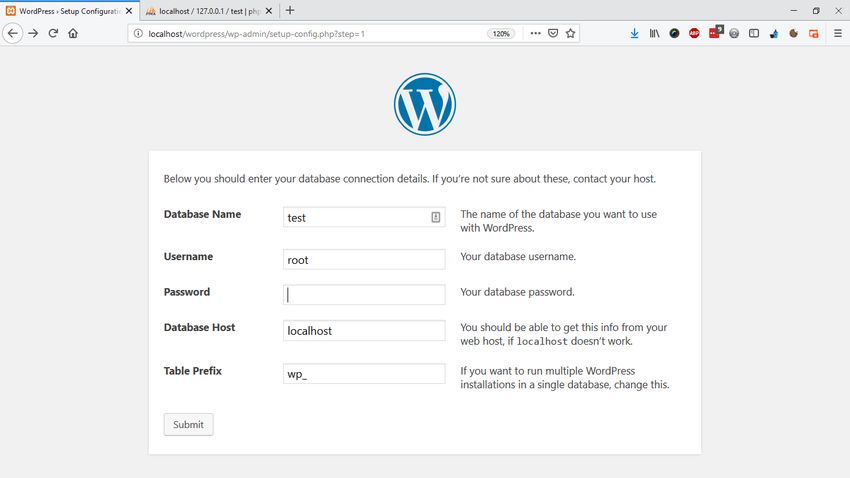
6. INSTALL WORDPRESS
Now, start the WordPress installer at localhost/wordpress and go step-by-step through the installation process. Fill in the setup form with the data WordPress requires. Your database name will be the same you have created inside phpMyAdmin (test in the example above). The username will be root, leave the password field empty, and the database host will be localhost.
If you want to use a more secure table prefix you can change the default wp_ prefix. You can also opt for the same table prefix you use on your production site.
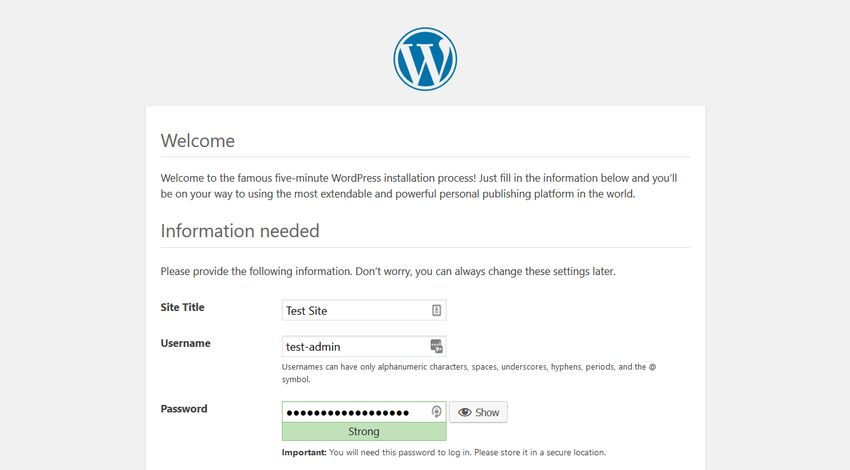
Submit the form and run the WordPress installer. It will ask a couple of questions related to your WordPress site such as the name of your site, a WordPress admin username (different from the phpMyAdmin username), and others. You need to choose a password with at least medium strength (you can see the evaluation below the password field), otherwise you can’t run the installer.
For security reasons, never use the admin username on a production site. Although it doesn’t really matter in a local environment, it’s better to keep up the good practice.
Click the Install WordPress button at the bottom of the screen. The installation process will take a couple of seconds (sometimes 1-2 minutes). When it’s done, you will get a notification and you can log in to your local WordPress site.
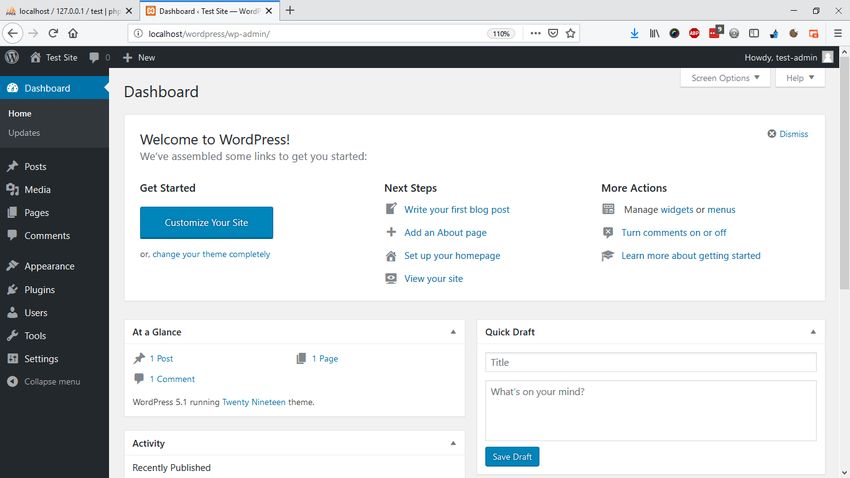
7. TEST YOUR LOCAL WORDPRESS INSTALL
You can find your local site at the localhost/wordpress URL and the admin area at localhost/wordpress/wp-admin. Whenever you want to use your local WordPress environment, you need to start XAMPP and access your site at this URL.
To test the site, log in with the username and password you chose during the installation process. You can also check your database in phpMyAdmin. Now, the database you’ve created is populated with WordPress-related tables.
CONCLUSION
Having a local WordPress environment can be quite helpful, as you can test different themes and plugins before using them on your production site. It can also come in handy if you want to get started with WordPress development, even if you just want to add a couple of lines of code to your theme’s functions.php file.
Read More:- WordPress Migration to Google Cloud (Full Guide)
Thrive Architect Review (2022) – is it worth it?
Elementor Review – How Good Is It In 2022?
How To Increase The WordPress Upload Limit On An AWS Lightsail Bitnami Installation